How To Bleed SRAM Brakes With The Bleeding Edge Port
Bleeding brakes can be a scary prospect, however, it is a necessary part of cycling, no matter your discipline. Brakes working correctly is highly important, the last thing you want when flying down a hill is to pull your leavers and find your brakes don’t work. We will show you how to get your brakes performing as they should.
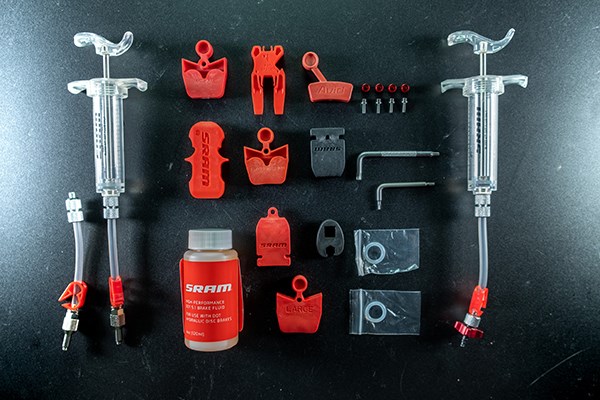
Tools you will need.
- T25 & T10 Torx key
- Needle nose pliers
- 4mm & 2.5mmAllen key
- Plastic tyre levers
- SRAM Professional bleed kit
- Disc brake cleaner
- Rags or paper towels
- Nitrile gloves
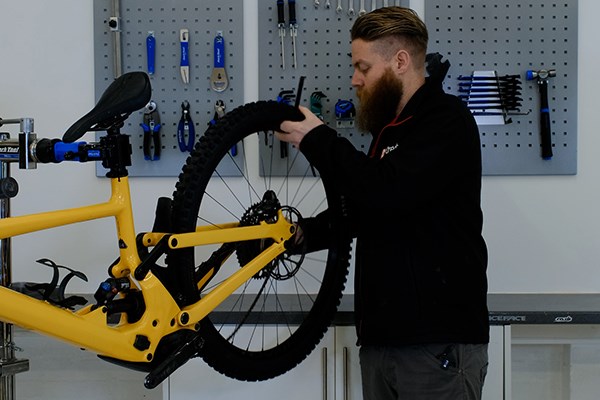
1Remove the wheel.
For this How To we will be bleeding the rear brake, however, the process is the same for the front brake. Remove the wheel and set this away from the work area. This is to make sure no DOT fluid gets on the rotor.
2Remove the brake pads.
Using needle nose pliers remove the C clip from the retaining pin, then using a plastic tyre lever push the pistons back into place. Be careful as this can damage the pads. Then with a 2.5mm Allen key remove the retaining pin and remove the brake pads.
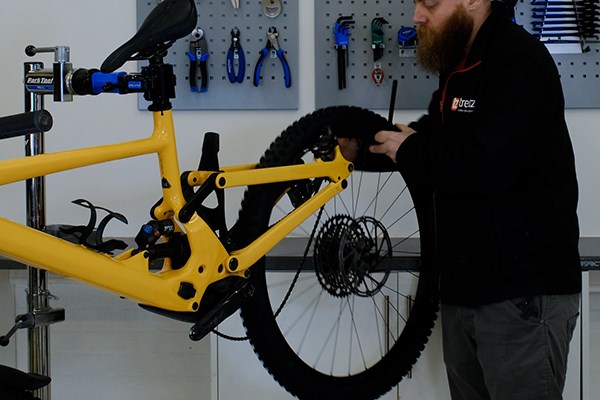
3Insert the bleed block.
Next, we need to insert the correct bleed block, this goes in the same way as your brake pads would. Once this is in place, re-fit the retaining bolt using a 2.5mm Allen key to ensure the bleed block stays in place. The bleed block is there to make sure the piston stays in place while we bleed the brakes.
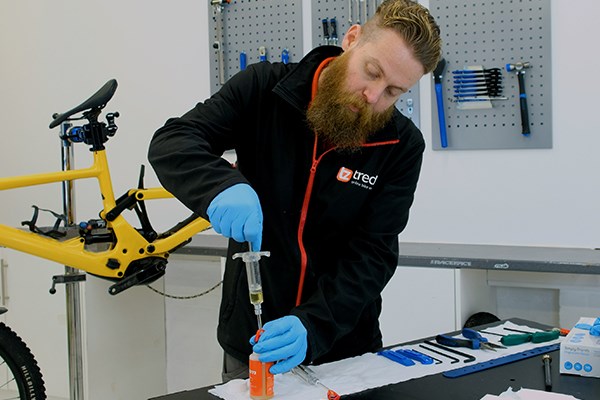
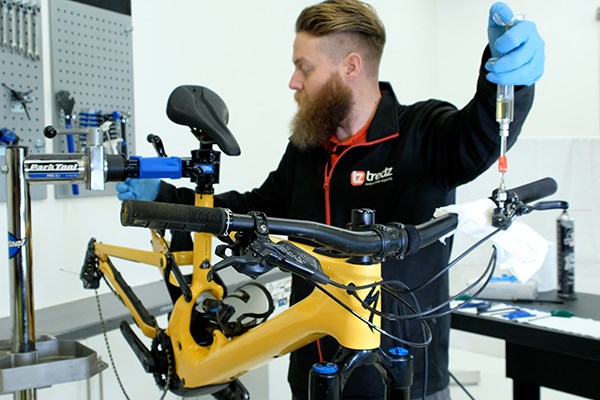
4Prepare the syringes.
First, put on the Nitrile gloves, DOT fluid is highly corrosive and can cause irritation to the skin. To start off with you will need to fit the correct hoses to the syringe, for this we will need a bleeding edge hose and a standard hose. Fill the lever end syringe ¾ full using DOT fluid. Fill the Bleeding edge syringe about a ¼ full using DOT fluid. Once at a time for each syringe, invert the syringe and with a rag on the tip squeeze the plunger pushing out any air in the syringe. Once there is no air, close both red clips to seal the syringes.
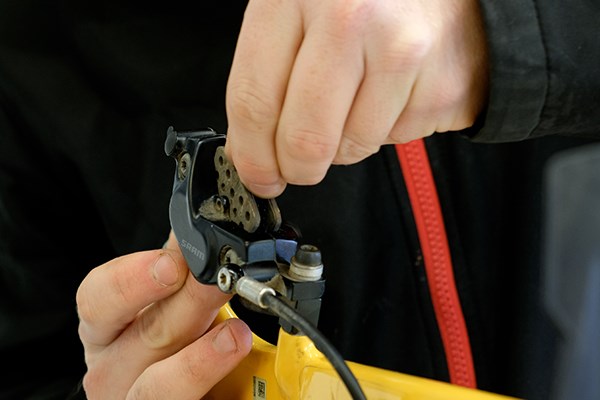
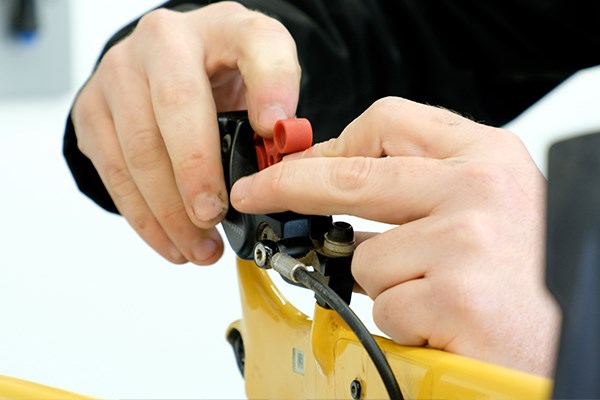
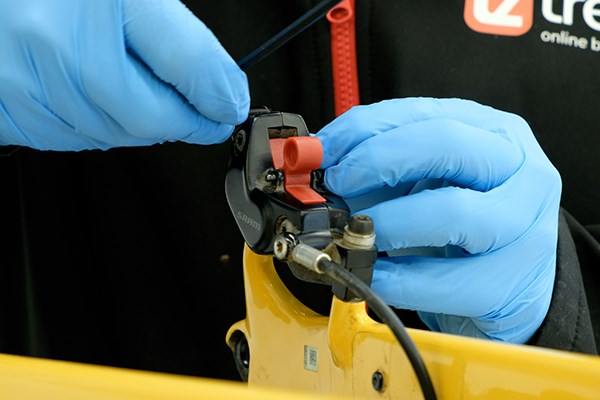
5Prepare the calliper.
First, remove the small rubber cover on the bleed port. Then using a 4mm Allen key loosen the Bleeding Edge port about a ¼ turn then gently re-tighten. Push the Bleeding Edge tool into the port until you hear a click. Turn the Bleeding Edge tool 1 complete turn to open the bleed port, do not exceed 2 full rotations as this can let fluid escape.
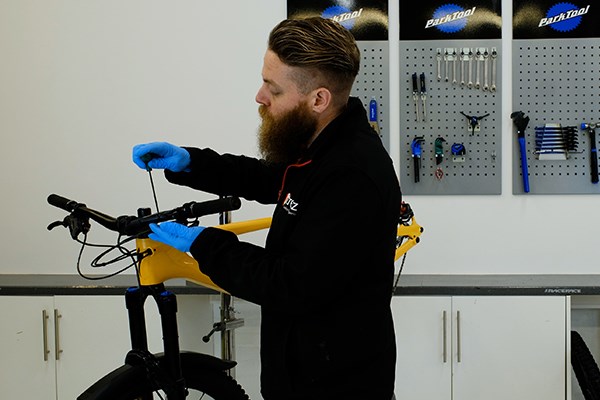
6Prepare the lever.
If your lever has a contact point adjustment, this needs to be wound out fully by rotating the dial in the opposite direction to the arrow. Then measure the brake lever position, this should be between 75-80mm from the grip. Using a T25 Torx key loosen and flatten out the brake lever, then tighten it up.
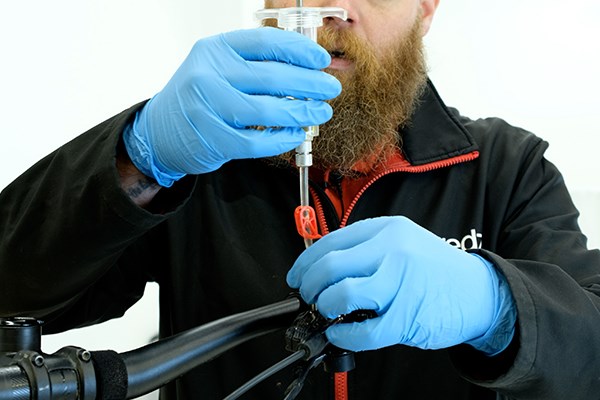
7Install lever syringe.
Use a T10 Torx key to remove the bleed port cover and wipe off any excess fluid that will come out. Thread in the ¾ full syringe, be careful not to over-tighten. Leave the red clip closed for the time being.
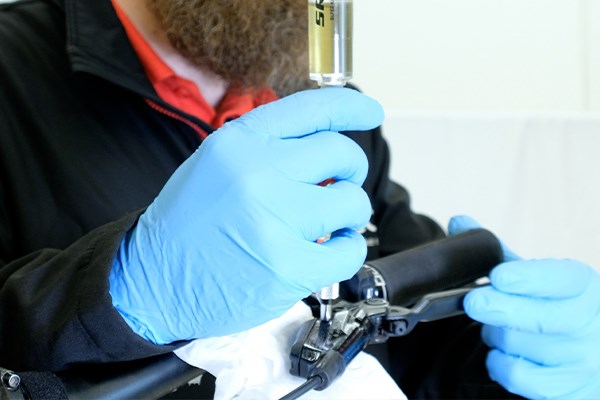
8Starting the bleed.
Open the red clip on the lever syringe, holding both syringes vertically, and gently push the DOT fluid from the lever end to the calliper end. If there is any air in the system, you will see air bubbles coming out of the calliper end. Stop before air enters the system from the lever end, leaving a small amount of fluid in the lever syringe. Then reverse this procedure and push DOT from the calliper end to the lever, again leaving a small amount of fluid in the syringe. Continue doing this until no air bubbles appear. Once no air is coming out, close the red clip on the calliper end.
9Lever bleed.
With the calliper end syringe locked off, pull the brake lever a few times and let it return to its normal position. Now pull the lever end syringe to create a vacuum, this is to pull out any remaining air bubbles in the system. Repeat this until no more air bubbles come out. Now compress the lever end syringe to equalize the system, leave to settle a few seconds then close the red clip on the hose. Remove the syringe from the leaver and re-fit the bleed pot cover using a T10 Torx bit and tighten to 1.5-1.7Nm.
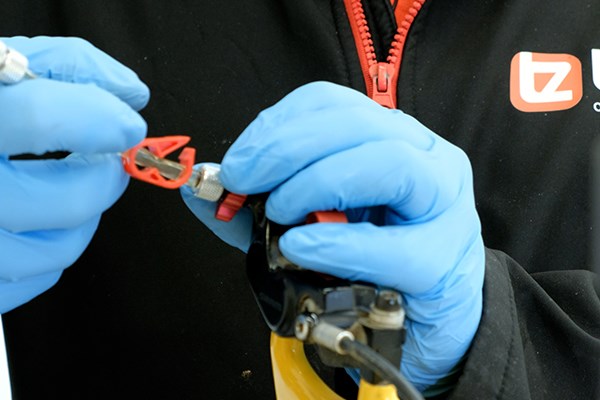
10Remove the Bleeding Edge syringe.
Without turning the syringe, pull the Bleeding Edge tool out of the calliper. Using a 4mm Allen key tighten the Bleeding Edge port to 1.5-1.7Nm.
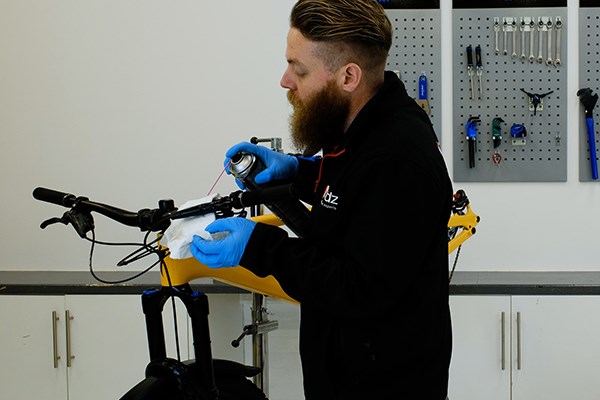
11Clean up any spills.
Using the disc brake cleaner and rags, clean the brake lever and calliper to make sure that no DOT fluid is left.
12Reinstall the wheel.
Now you just need to reinstall your wheel and enjoy your bike.