How To Convert Your MTB To Tubeless
Before You Start
Tubeless tyres bring a list of advantages to your mountain bike. Because there is less of a chance for a pinch flat, combined with the sealant in the tyre, lower pressures can be run without worrying about puncturing. This gives greater traction and grip, and it even allows for faster rolling with the reduced friction between the tube and tyre. We show you how to quickly and confidently convert your MTB to tubeless.
What do you need?
Setting your wheels up as tubeless requires some tubeless-specific parts and tools. Before you get started, it is important to measure the inner width of your rims to get the correct tape. You should choose tape that is within 2mm either side of your internal rim width.
- Valve core removal tool
- A track pump with pressure gauge
- Warm soapy water and a clean cloth
- Tyre levers
- Scissors
- Small screwdriver
- Measuring cup
- Optional: Compressor or tubeless boost inflator
- Optional: Injector with hose
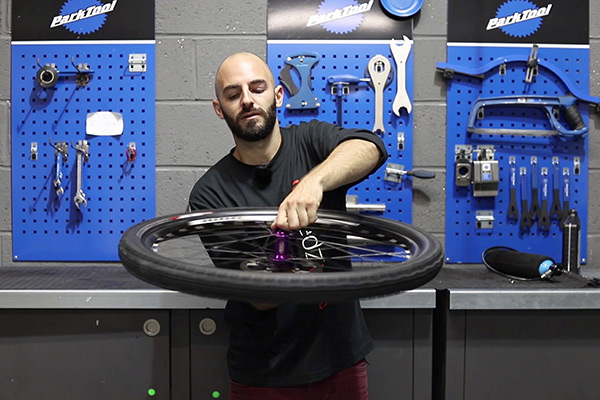
1Remove tyre & tube
If you haven't already, you need to completely remove the tyre and tube from your wheel. Deflate the tyre completely. Squeeze the tyre so that the bead of the tyre (a railing of the tyre that fits snug into the rim) unseats from the rim. Starting at the opposite side to the valve, fit a tyre lever between the tyre and the rim, being careful to avoid the tube. The lever will catch onto the bead of the tyre. Place another lever about 10cm away. Push against one of the levers, then the other, and a section of the tyre should pop out exposing the bead. Keep one lever in place and slowly leverage more of the tyre out from the rim. Soon, you should be able to take it out by hand. Do the same with the other side of the tyre.
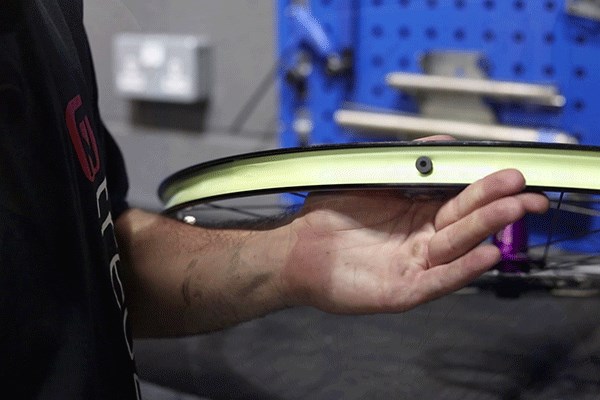
2Remove rim tape
You should see a plastic or material tape that runs along the rim. You are going to remove this. An easy way is to use the hook at the other end of the tyre lever. Find the valve hole and use the hook to get underneath the tape to get a hold on it. Remove it completely.
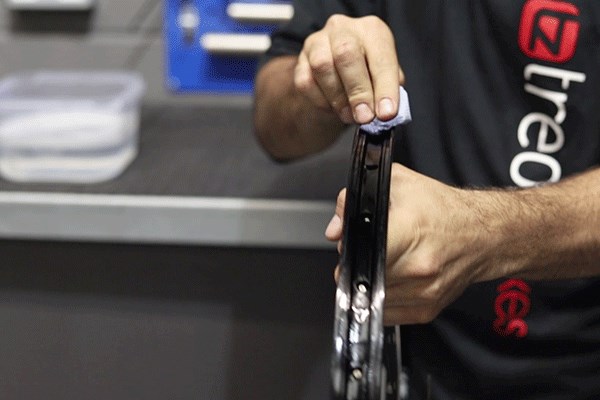
3Clean the rim
You will be taping the inside of the rim, so you want to make sure it’s clean. This helps make sure the adhesive of the tape sticks completely, making a tight seal. Using a clean cloth and soapy water, thoroughly scrub the rim where the tyre would fit into. Dry it completely thereafter.
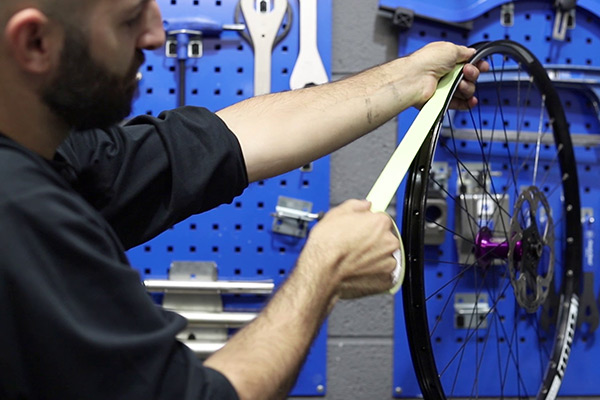
4Tape the rim
Begin taping the rim opposite the valve hole. Tape down the end, making sure it is straight and flush on the rim. Pull on the tape hard so that there is no slack while holding the beginning of the tape
Tape it by segments, making sure there are no bubbles by running your fingers across the tape to push any out, while also making sure the tape is fully stuck down. Move along the rims repeating this in small 15cm increments. When you get to the end, overlap the tape about 10cm. If your rim is not tubeless-ready, it may require a second layer of tape for a solid seal, and it is worth doing this first time, to avoid having to repeat this later.
Smooth out the tape by running along the rim with a clean cloth, putting pressure on the tape. Run along the same direction that you taped.
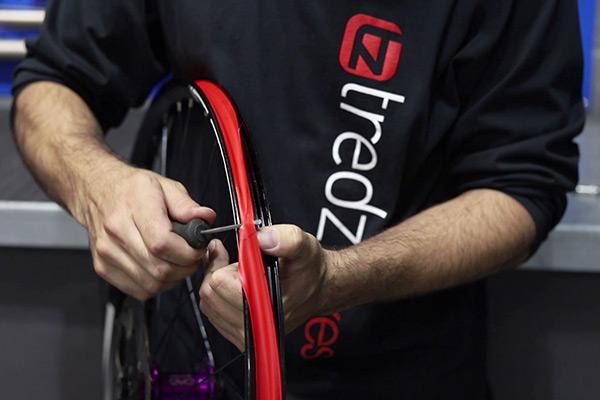
5Create the valve hole
Locate the valve hole in the rim. By using a small screwdriver (or similar), poke a hole in the tape at this location. Be careful not to cut a hole radially (or along the line of the rim) and try to create a circle. You can expand this hole a little to make room for the valve.

6Install valve
Take the lock nut off the valve. Put the valve into the rim and lock it off with the nut only finger tight. Do not use a tool to tighten the nut.
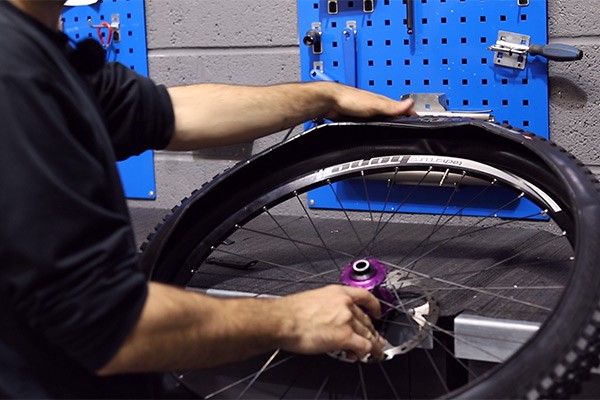
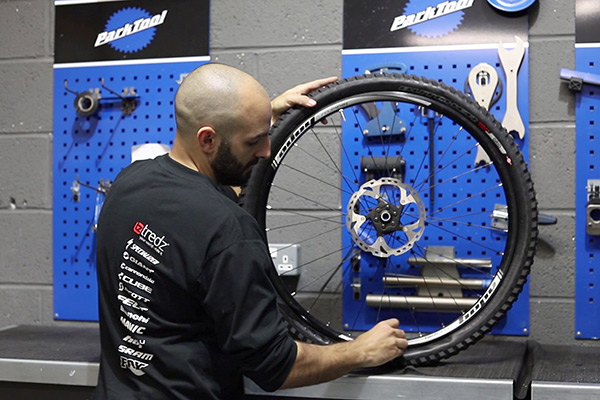
7Install one side of tyre
Next, you must install one side of the new tyre onto the rim. Go by hand first, making sure the bead of the tyre fits into the inner rim. You may need to use tyre levers for the last section as the tyre may be tight to fit on. Fit the tyre lever in between the tyre and the rim and use leverage to get the tyre back onto the rim.
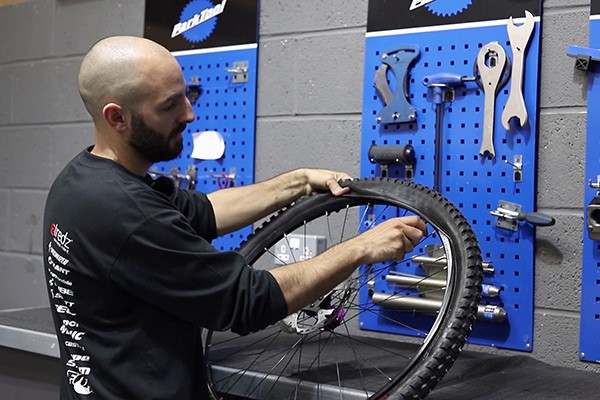
8Install other side of tyre
Go around the tyre fitting the bead into the rim. When you reach the end, where you would normally need tyre levers to fit the rest, leave it open. You will be putting the sealant into the tyre via this gap. (If you want to use the Injector for the sealant, move onto Step 9b.)
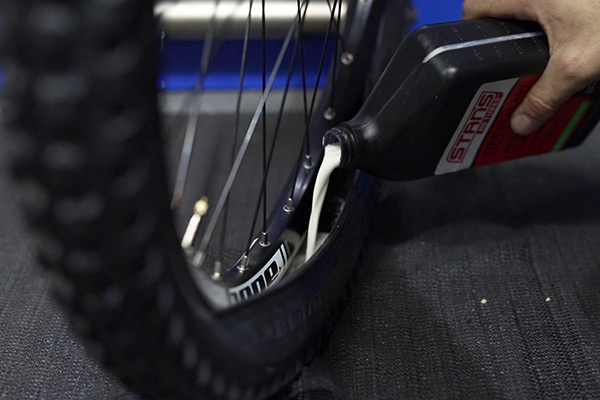
9aPouring the sealant
Shake the sealant bottle well. Measure at least 90ml of sealant in a measuring cup for a 29er 2.2” tyre (if you have larger tyres, then you should add more). Pour this into the opening you left in the tyre. Now turn the wheel so that the sealant goes to the closed part of the tyre that has both sides fitted to the rim. You can now fit the rest of the tyre to the rim.
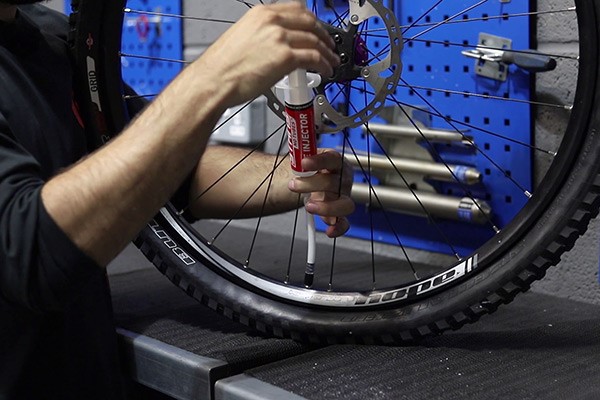
9bInjecting the sealant
If you are using the Injector to put sealant into the tyre, you can fit the tyre completely onto the rim. Use the tyre levers if necessary to leverage the rest of the tyre bead into the rim. Next, by using the valve core remover, remove the core of the valve. Fit the injector onto the valve before you put sealant into the injector. Shake the sealant bottle well. Now, pour in at least 90ml of sealant into the injector for a 29er 2.2” tyre (if you have larger tyres, then you should add more). Inject the sealant into the tyre, making sure all of it goes in. Remove the Injector and replace the valve core.
10Rotate and wet
Rotate the wheel so the sealant is spread throughout the inner tyre. Now wet the bead of the tyre with warm soapy water. This will not affect the sealant. This helps to get the tyre to seat properly onto the rim.
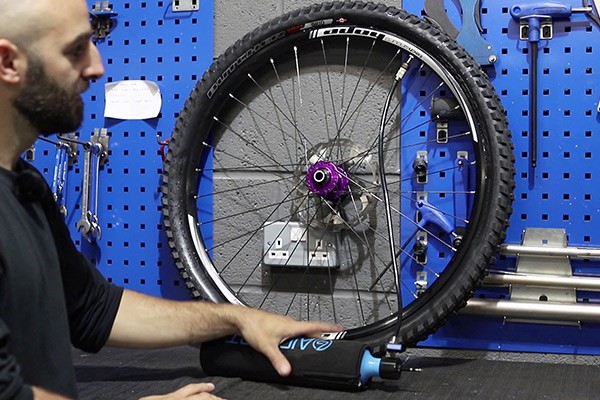
11Inflating
Some tyre/rim combos will easily inflate with a normal air pump. Others will require a compressor or a tubeless boost inflator like the Airshot Tubeless Tyre inflator or Specialized Air Tool Blast Tubeless Tire Setter. To use these, you inflate the Airshot/Specialized Tyre Setter to 140psi using your floor pump. Attach the canister to the wheel valve and open it. It should quickly inflate your tyre, seating the bead into the rim. You may hear a couple ‘fwunks’ or ‘pings’ when it does this. It is the sound of the bead being seated into the rim, and is a good sign. Make sure not to inflate the tyre to more than 45psi.
12Settle the sealant
Once your tyre is inflated and seated, bounce the tyre few times on the floor, rotating as you do so. This will make the sealant distribute evenly throughout the tyre. Tyre sidewalls can be porous (some more than others) and the sealant will close these holes. More sealant may be required for tyres with more pores. Reinstall your wheels and have quick ride on them. Check the pressure again. You may see that they are showing less pressure. This is normal, as some air may escape while the sealant is sealing the tyre completely.