How To Adjust Your Dropper Post Height

Test the Dropper
Before making any adjustments, operate the dropper a few times so you know how it works and can check everything is functioning correctly.

Follow Carefully
It's important to follow these steps carefully as damage caused during adjustment isn't typically covered under warranty.

Keep the post extended
Start with the dropper post fully extended. This makes it easier to work on and prevents it from unexpectedly extending while you're adjusting it.
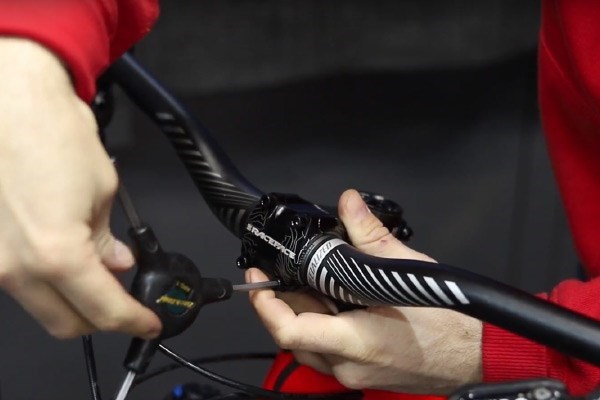
Using the correct Allen key or Torx tool, loosen the seat clamp just enough for the post to slide. There's no need to remove the bolt completely.

Adjust saddle height
Raise or lower the post until the saddle is at your preferred pedalling height. A good starting point is a slight bend in your knee when pedalling normally. If you want a more detailed guide to setting your saddle height, check our guide here.

Taking care
Most internally routed droppers have spare cable inside the frame. Simply pushing the post down can kink or crimp the cable. This is one of the most common causes of dropper post issues we see.
Instead, gently pull the cable from the head tube while lowering the post. This helps keep the cable moving freely inside the frame.

When Raising the post
When raising the post, feed the cable back into the frame as you pull the post up. This prevents tension being put on the cable, which can stop the dropper from staying down.

Keep the Saddle Straight
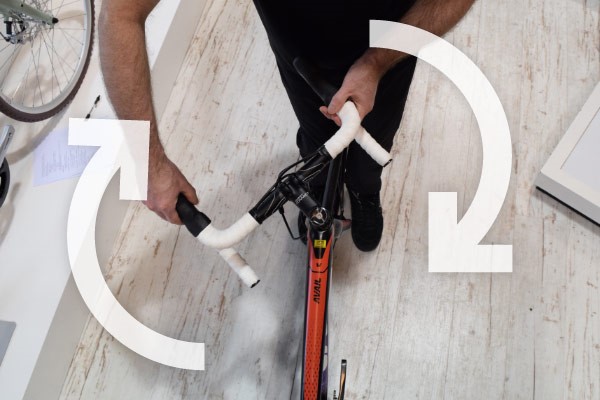
Before tightening the clamp, check that the saddle is aligned with the top tube.
Looking down from above makes this much easier and helps avoid a twisted riding position.

Tightening The Clamp
Now tighten the seat clamp.
Avoid over-tightening, as too much clamping force can stop the dropper post from moving freely. If your frame or seat clamp has a torque setting, always use it. A torque wrench is the easiest way to tighten it correctly.

Get Ready To Ride
Press the dropper lever several times to check the post moves smoothly through its full travel.
If it feels sticky or doesn't return properly, first check that the seat clamp isn't too tight. If the post still isn't working correctly, check that the cable hasn't become trapped inside the frame during adjustment.