How To Set Saddle Height
Setting and adjusting your saddle correctly is one of the most important parts of bike setup. It affects comfort, efficiency, and the amount of power you can produce, while also helping reduce the risk of aches, pains, and injuries.

This first method is the most straightforward to get you going. All you need is a multi-tool to adjust your saddle, and make sure you’re in your cycling shoes and kit, as these can affect saddle height.
A good starting point is to set the saddle around hip height.

Make sure your bike is properly supported, either using an indoor trainer, leaning against a wall or having a friend support the bike.
Sit on the saddle and place the heel of your foot on the pedal. Rotate the crank so the pedal is at the bottom of the stroke.
Your leg should be straight but not overstretched.
If you have to stretch, rock your hips or if your heel barely touches the pedal, you’ll need to lower your saddle height.

Once your leg is straight with your heel on the pedal, move your foot back onto the pedal with the ball of your foot as normal.
You should now have a slight bend in the knee, which indicates a good saddle height.

The LeMond method takes a measurement of your inseam and applies this to saddle height.
Stand against a wall with your shoes off and use a book or similar to mark your inseam length.

Measure this distance in millimetres (mm), then multiply it by 0.883. The result gives you a reliable starting point for your saddle height, which you can then fine-tune based on comfort and riding style.

Use this measurement to set the distance between the centre of the bottom bracket and the top of the saddle, measured along the line of the seat tube.

Keep your saddle straight and in line with the top tube. A saddle that’s twisted can cause uneven pressure and discomfort while riding.

Saddles can be angled up and down, and the position can be adjusted fore and aft.
In general, a level neutral position is the best starting point.

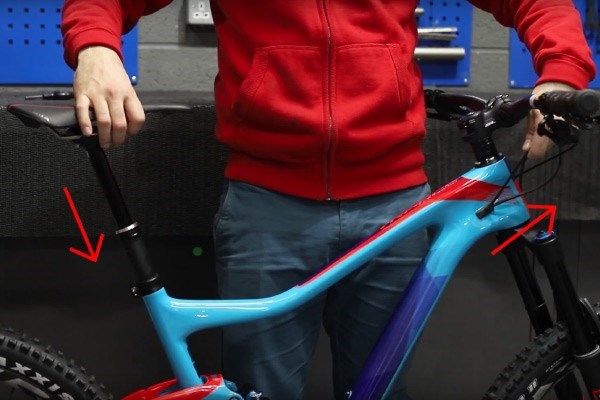
For mountain bike riders using dropper posts, all of these setup rules apply when the seatpost is fully extended, as this is your efficient pedalling position.