How To Service Hope Pro 5 Hubs
Servicing your hubs can often seem a daunting process. However, with the correct tools, this can be done relatively easily. Whether you’re refreshing tired bearings or just giving your hubs some preventative care, in this guide we will take you step by step to getting your Hope Pro 5 hubs rolling as good as new.
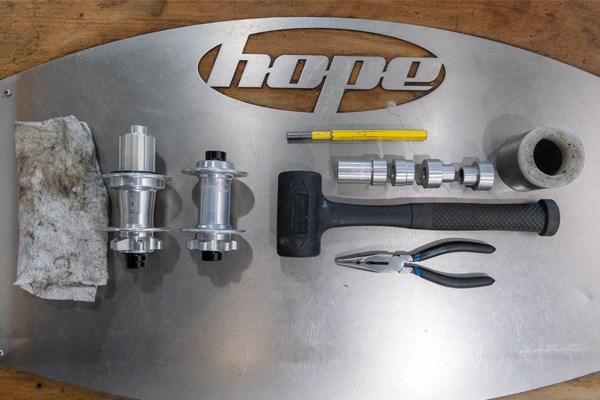
Tools you will need.
- Pliers
- Rag or cloth
- Rubber Mallet or Soft Hammer
- Punch
- Hope Bearing Bush Kit
- Grease
How to Service Hope Pro 5 Front Hub
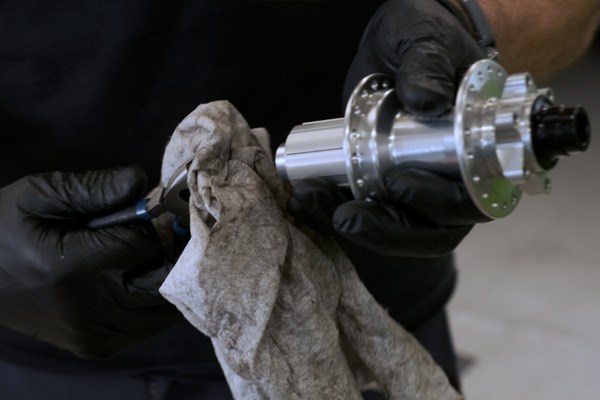
1Remove the end caps
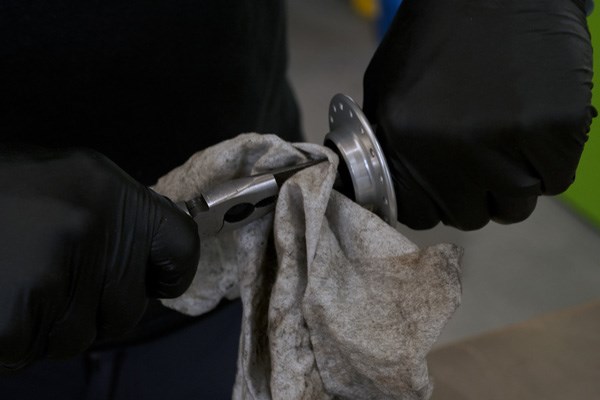
The first step is to remove the hub end caps. These should come off by hand however, If they are a bit stubborn use a rag over a set of pliers,as to not scratch the end caps and pull the caps away from the hub.
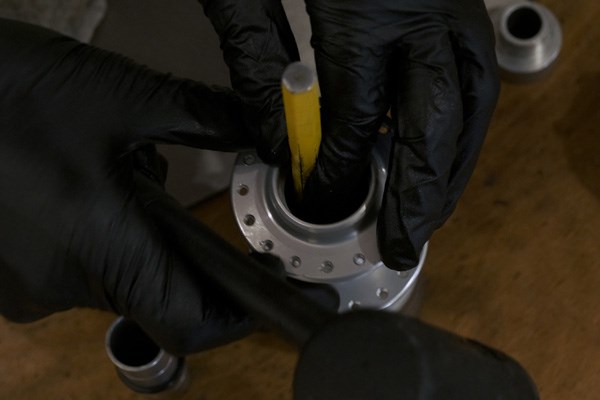
2Tap the bearings out
Using the punch and a mallet, push the tube in the centre of the hub to one side and then gently tap the bearing on the opposite side. Continue doing this while moving around the bearing until the bearing and centre tube drop out.
3Repeat on the other side
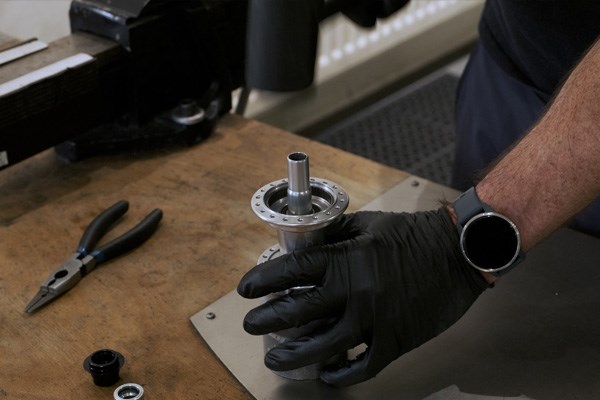
Flip the hub over and repeat the previous step to remove the second bearing from the hub. You should now be left with a hollow hub.
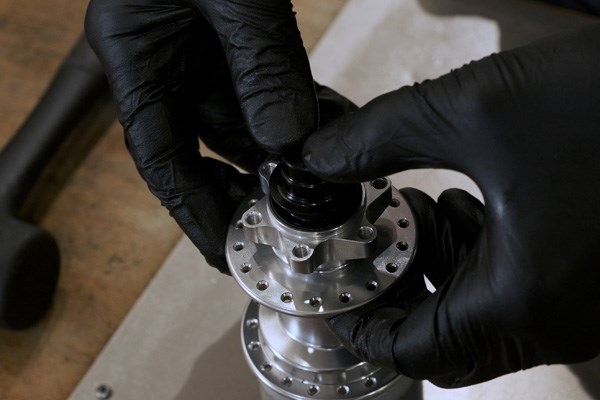
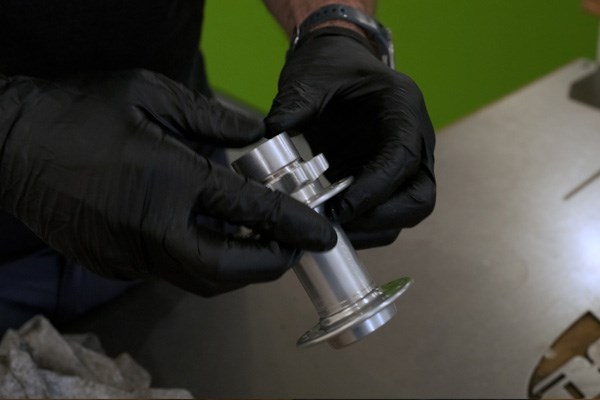
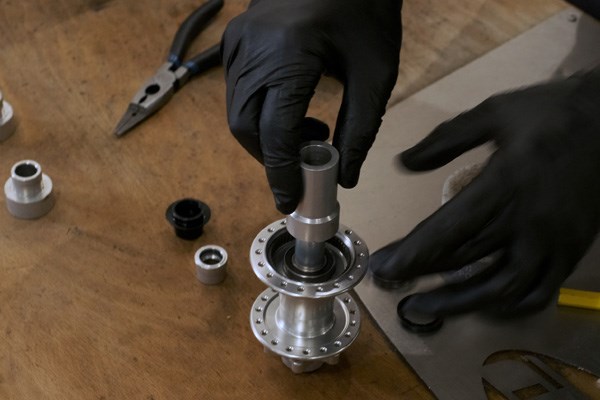
4Fit the new bearings
Now it’s time install the new bearings, using the front hub specific Hope Bearing Bush tool. Place the bearing over the Bearing Bush tool and push this into the hub by hand, just to get the bearing seated and square. Now with the Bearing Bush tool in place, flip the hub over and insert the centre tube. Now with the 2nd bearing push it into place by hand, making sure it’s square.
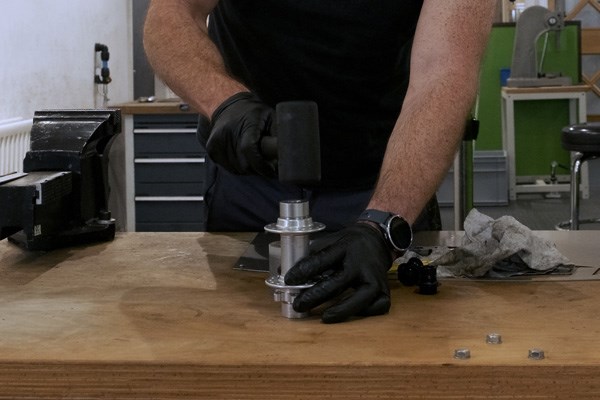
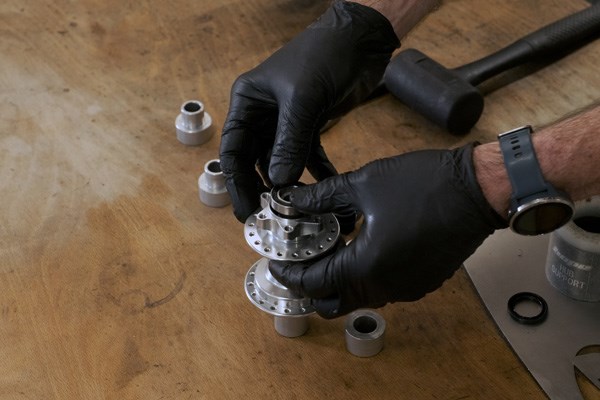
5Tap bearing into place
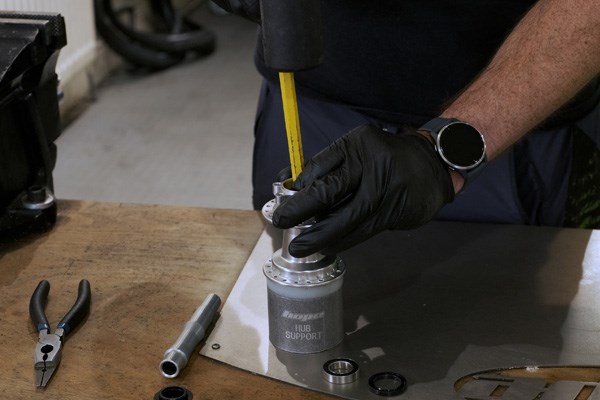
Now using the 2nd Bearing Bush tool, place this over the bearing and on a flat surface gently tap the bearing into place, making sure it stays central. Then with a firm tap, make sure the bearings are fully seated.
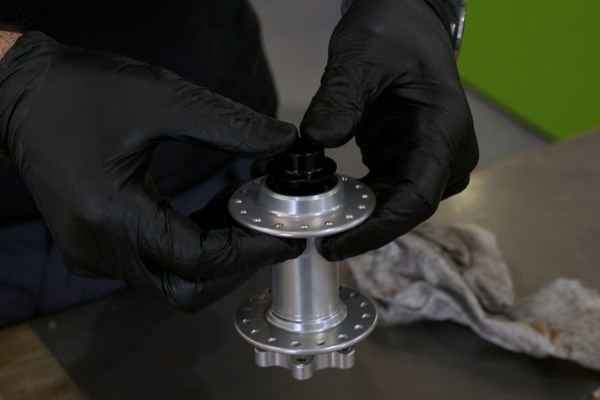
6Refit end caps
The last step is to refit both end caps, these will push back in by hand and will click in to place. Now make sure that both sides of the hub spin easily and you’re done.
Hope Pro 5 Front Recommendations

How to Service Hope Pro 5 Rear Hub
1Remove end caps
The end caps should pull off by hand. If they are a bit stubborn use a rag over a set of pliers to not scratch the end caps and pull the caps away from the hub.
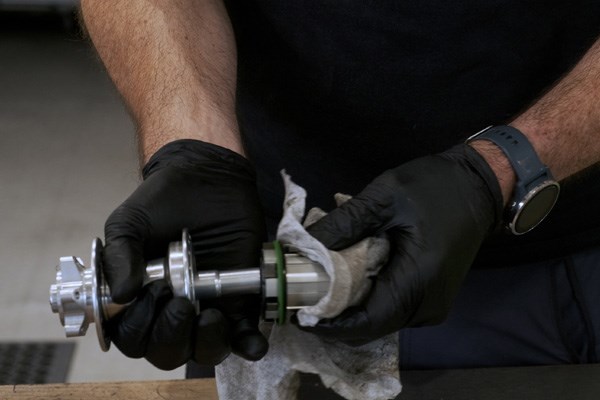
2Remove the Freehub body
Once the end caps have been removed, the freehub can be removed by hand. Using a rag to give better purchase, simply pull the freehub away from the hub body. The freehub can be a bit stiff but will remove with a firm tug.
3Inspect Freehub
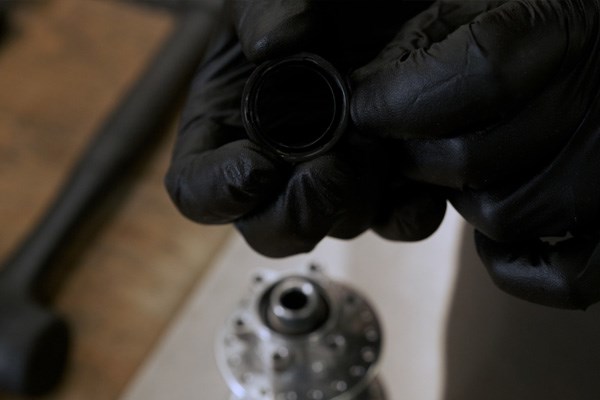
This is a good point to inspect the freehub body, making sure that all the pawls and springs move freely. It’s good to check the bearings in the freehub and see if they are still moving freely. Make sure you keep a hold of the 1mm spacer that sits between the freehub and the hub.

4Remove the axle
Now using a rubber mallet, tap on the end of the axle from the drive side to remove the axle, non-drive side bearing and seal. Leaving just the drive side bearing in the hub. The non-drive side bearing should just pull off the axle, if not then just give a tap with the rubber mallet to remove it.
5Remove Bearings
Flip the hub around and using the punch and rubber mallet, insert the punch through the hub and tap the non-drive side bearing out. Gently tap while moving the punch around the bearing until the bearing drops out.
6Fit new drive side bearing
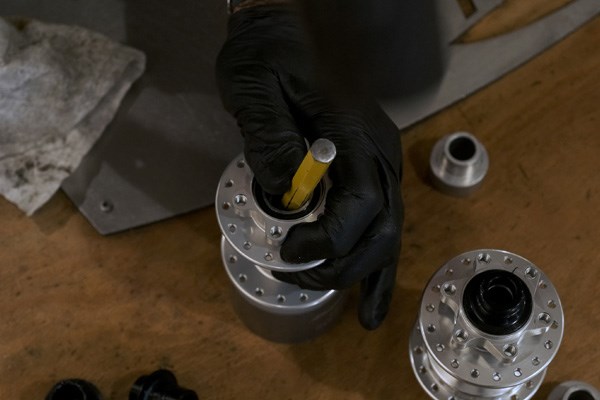
Now to refit some new bearings, start with the drive side and push the bearing into position as far as you can by hand. Then using the axle, insert this from the non-drive side. Now using the rear specific Hope Bearing Bush tool, insert the shorter one into the non-drive side, sliding it over the hub axle. Use the longer of the Bearing Bush tools on the drive side and slid it over the axle. Holding the hub firm and on a flat service, strike the Bearing Bush tool with a mallet firmly in place.
7Fit non drive side bearing
Now fit the non-drive side bearing, push it in to place by hand as far as possible. Then using the shorter Bearing Bush put this over the axle on the non-drive side and the longer Bearing Bush tool on the drive side. Placing the hub on a flat surface tap from the non-drive side with the mallet until the bearings are in place. Before moving on double check that both bearings spin freely.
8Fit non-drive side seal
Now refit the non-drive side seal, making the sure the side with the recess faces outwards. Push this in by hand making sure that it sits flush against the hub body.
9Fit Freehub body
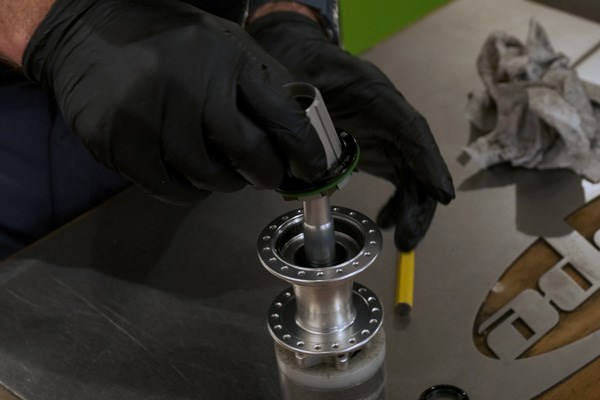
Now to fit the freehub body into the hub. Make sure the 1mm spacer is in place between the hub and the freehub. Place the freehub over the axle and spin it anticlockwise while pushing the pawls inwards until the freehub slips into place. Now first fit the green seal, this should click in to place by hand. Make sure that the freehub spins freely with no friction. Now fit the black cover over the green seal, this just sits in place.
10Fit end caps
Last step is to fit the end caps; these will click into place by hand. Black end cap goes on the non-drive side and the silver one on the drive side. Make sure everything spins as it should.